
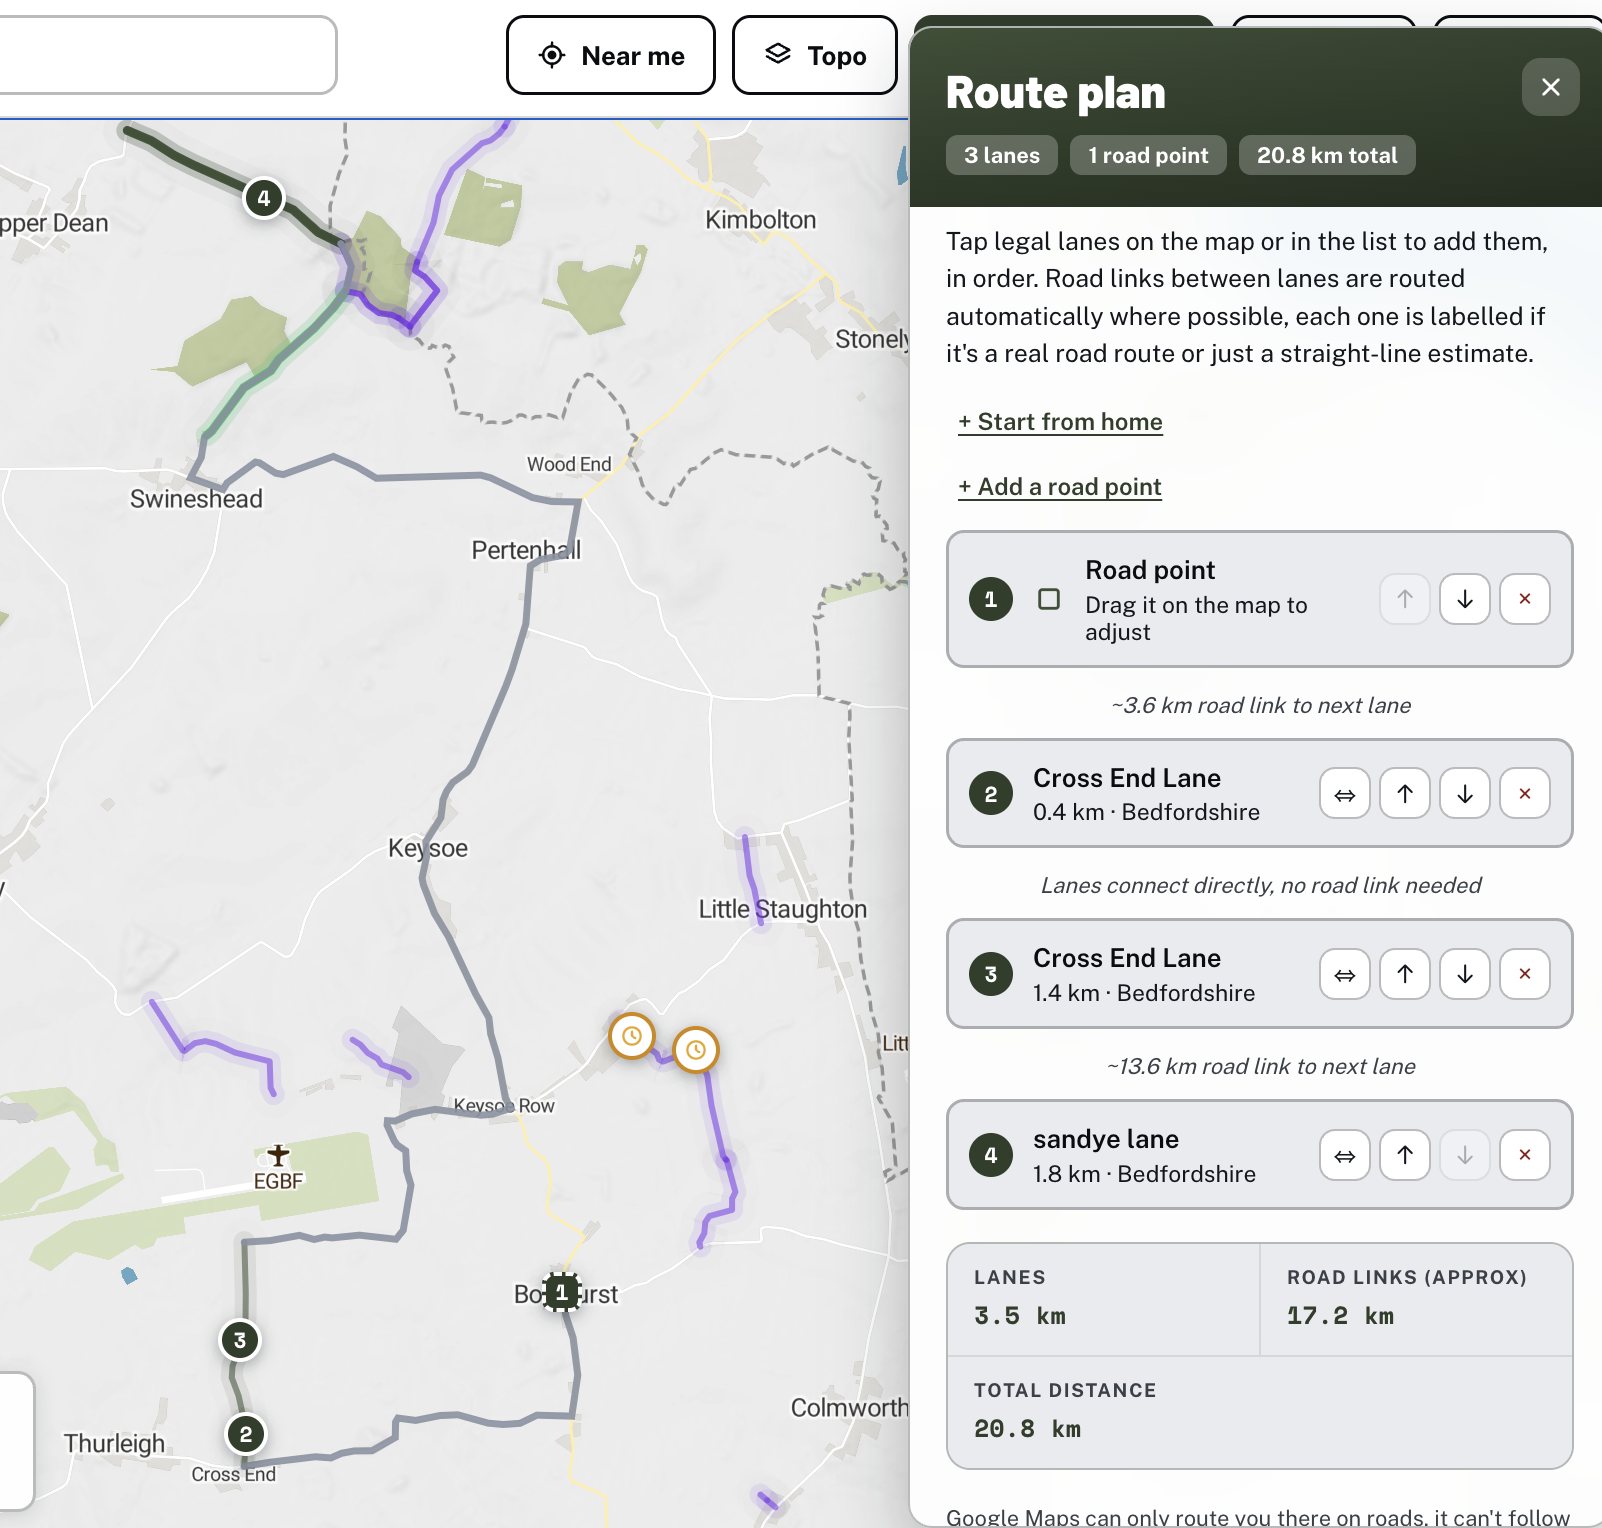
Stringing a few lanes together in Holloway takes about thirty seconds. Building a route you'd actually want to film, or send to someone else to follow exactly, takes a bit more care, especially once you factor in the roads connecting your lanes, not just the lanes themselves. This is a full walkthrough of building a custom route from scratch, including the new road waypoints feature, then exporting it as GPX and sharing it, whether that's sending a mate the route before you go or dropping the file in a ride-out video's description.
Before you start
Route planning, GPX export, live navigation and saved routes are all part of Holloway Premium. Browsing the map, checking a lane's legal status and grading, and searching by area are free with no account, so it's worth scouting your lanes first if you haven't decided which ones you want yet. See what's free vs paid for the full breakdown if you're not sure where the line sits.
Step 1: Start planning and add your first lane
Tap "Plan" in the topbar to enter route planning mode. The map and sidebar both stay usable, tap any legal lane, on the map or in the list, and it's added as your first stop. Restricted byways and other non-legal lanes can't be added, that's deliberate, this app never lets you route through something you can't actually ride. If a lane you tap is one continuous track split into several records at a boundary, tapping it pulls in every touching, same-named section in one go rather than needing several taps.
Step 2: Keep adding lanes, in the order you want to ride them
Every lane you tap after the first gets linked to the one before it automatically. If the two don't physically touch, Holloway calls out to a real road-routing engine and draws the actual road route between them, not a straight line, and labels it with the real distance in the route panel. Two lanes that do touch just connect directly, no road link needed. You can keep adding lanes in whatever order makes sense for your day, reorder them afterward with the up and down arrows on each row if you change your mind, and there's a ⇔ button on any lane to force it the other way round if you'd rather ride it in reverse.
Step 3: Add your own road points to choose exactly which road you ride
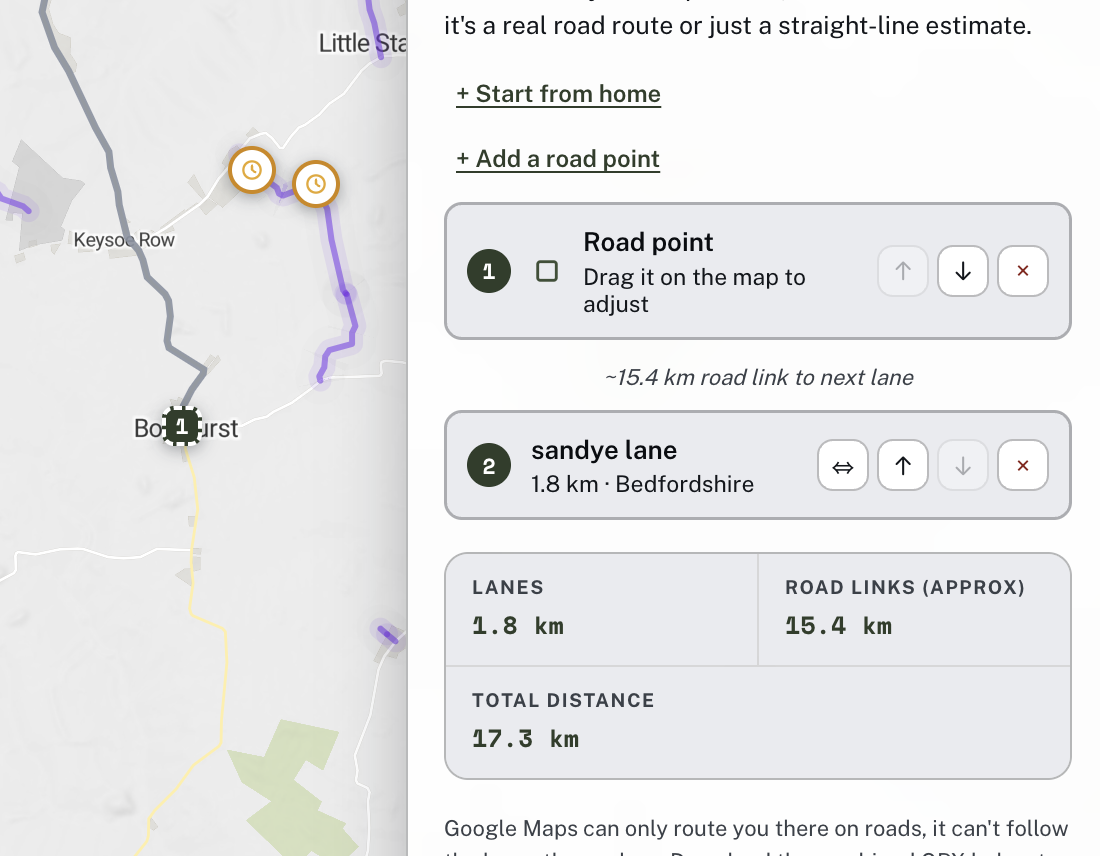
This is the part that's new. Until now, the road between two lanes was always whatever the routing engine judged shortest, which usually means fine but not necessarily the road you actually want. If you're filming a ride-out, the connecting road is often just as much a part of the video as the lanes are, a good sweeping B-road, a run through a village worth the shot, a stretch you already know is good. A road point lets you choose it deliberately instead of leaving it to an algorithm.
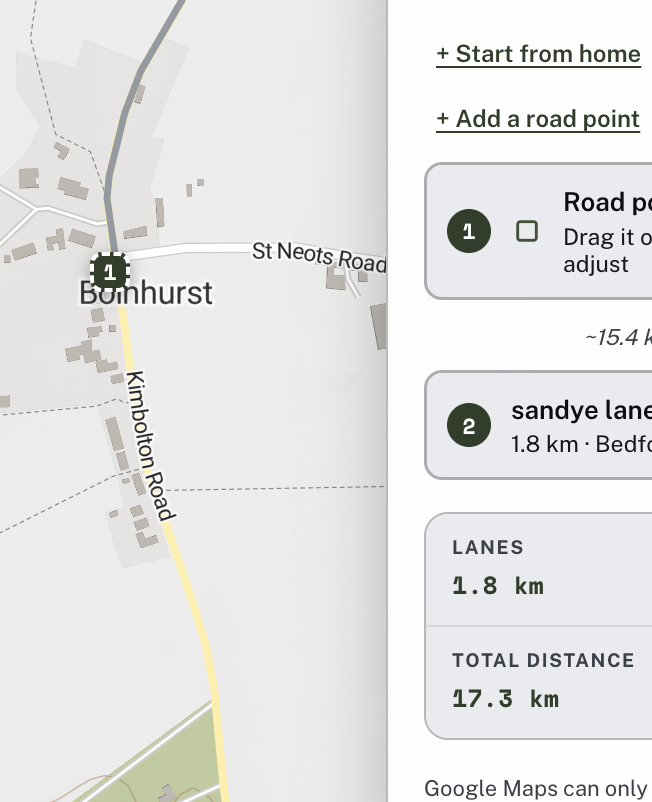
In the route panel, tap "+ Add a road point". The button turns into "Done, tap to stop" and the map cursor changes to a crosshair, this is a multi-shot mode, it stays on so you can drop several points in a row without reopening it each time. Tap anywhere on the map near the road you want and a square marker drops in, distinct from the round lane markers and the teardrop-shaped points of interest so it's obvious at a glance which stops are custom. The road link either side of it re-routes through that point automatically, using the same real road-routing engine as every other connector.
Dropped roughly is fine, the marker is draggable, so pick it up afterward and nudge it precisely onto the road you actually meant. A new road point always gets added at the end of your route, use the same up and down arrows the lane rows have to move it into the right position between the two stops it should sit between. Tap "Done, tap to stop" when you're finished placing points, or just carry on planning, the mode only ever adds points, it doesn't interfere with tapping lanes elsewhere on the map.
Step 4: Add a start point, and points of interest if you want them
"+ Start from home" in the route panel takes a postcode and adds it as your actual starting point, with a "Also finish here (round trip)" option if you want the route to bring you back. If you've got the points of interest layer switched on in the sidebar filters, historic sites and landmarks can be tapped into the route the same way a lane can, useful if there's somewhere worth a detour on the way round.
Step 5: Check the numbers and the legal notes
The route panel keeps a running readout of lane distance, road link distance and total distance as you build, and flags anything in the route that needs a second look, a member-added lane not yet independently verified, a UCR whose legal status is less certain than a confirmed BOAT, or a MOD permissive road that can close instantly for live firing. None of this stops you building the route, it's there so you go into the ride with the same information the map already gives you lane by lane, just summarised for the whole day.
Step 6: Download the combined GPX
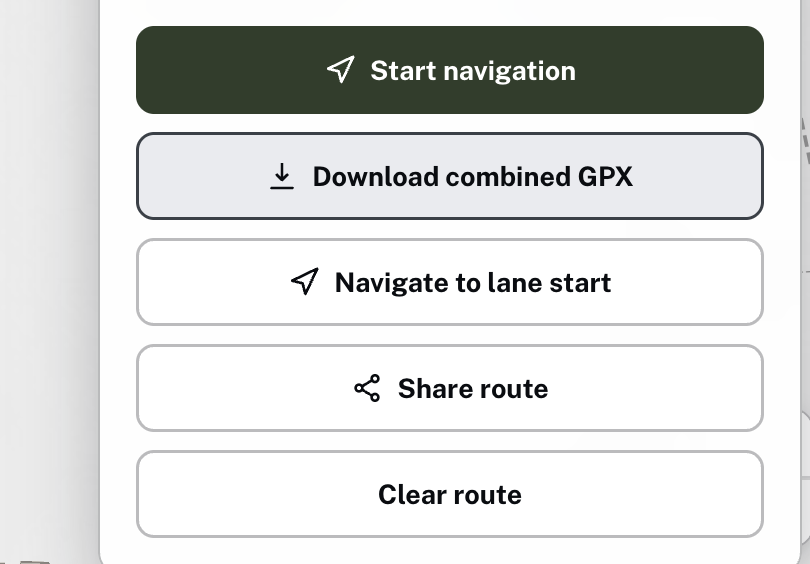
"Download combined GPX" turns the whole thing, lanes, road links, road points and any points of interest, into a single GPX file with everything correctly labelled: each lane as its own named track with its legal-status and hazard notes carried into the description, each road link as its own track, each road point and point of interest as a named waypoint. If a road link couldn't be routed for some reason, it's still included as a straight-line estimate, clearly marked as such in both the track name and the file's own description, so nothing in the file overstates what it actually is.
Once it's downloaded, what you do with it depends on where you're navigating from. If you're using Holloway itself, you don't need the file at all, "Start navigation" runs it live on the same map. If you're loading it onto a Garmin, a phone app, or anything else, see loading a GPX route onto your bike for exactly how, method by method.
Step 7: Share it, or save it for next time
"Share route" sends a plain-text summary over WhatsApp, text message or email, stop count, total distance, the first few lane names, and a Google Maps link to wherever the route starts. It's built for the ordinary safety habit of telling someone where you're actually riding before you go, not for handing over the full route, a link like that can't carry an attachment, so if you want someone to have the actual GPX, send the downloaded file separately, or drop it straight into a video's own description alongside the link to Holloway itself.
If it's a route you'll want again, "+ Save this route" keeps it against your account, reachable later from Menu > Account > My saved routes without rebuilding it lane by lane. A saved route doesn't freeze a snapshot either, it resolves live against the current map every time you reload it, so a lane that's since been re-graded or flagged closed shows up correctly rather than the save quietly going stale.
Putting it together for a ride-out video
The order that actually works for filming: scout and grade-check your lanes first while it's still free to browse, build the route properly with road points on the connecting sections you actually want to ride and show, check the legal notes before committing to anything flagged, then download the combined GPX once you're happy with it. Film the ride, and the same file goes straight in the description, viewers get the exact route, lanes and road choices both, not just the lanes with everything else left to guesswork.
For the bigger-picture side of planning, not just the mechanics of the tool, planning a full day of lanes covers loop logic, accounting for your hardest section, and building in a proper bail-out.